Payment Links
Payment Links are shareable URLs that let you collect payments for products, services, donations, or general money collection.
Quick Start
Create your first payment link in under 3 minutes:1
Navigate to Payment Links
Go to Payment Links in the left sidebar → click Add Link
2
Choose Payment Type
Select Product Payment, Money Collection, or Donation
3
Configure Settings
Set up products, amounts, and payment details
4
Share Your Link
Copy the URL and share it anywhere
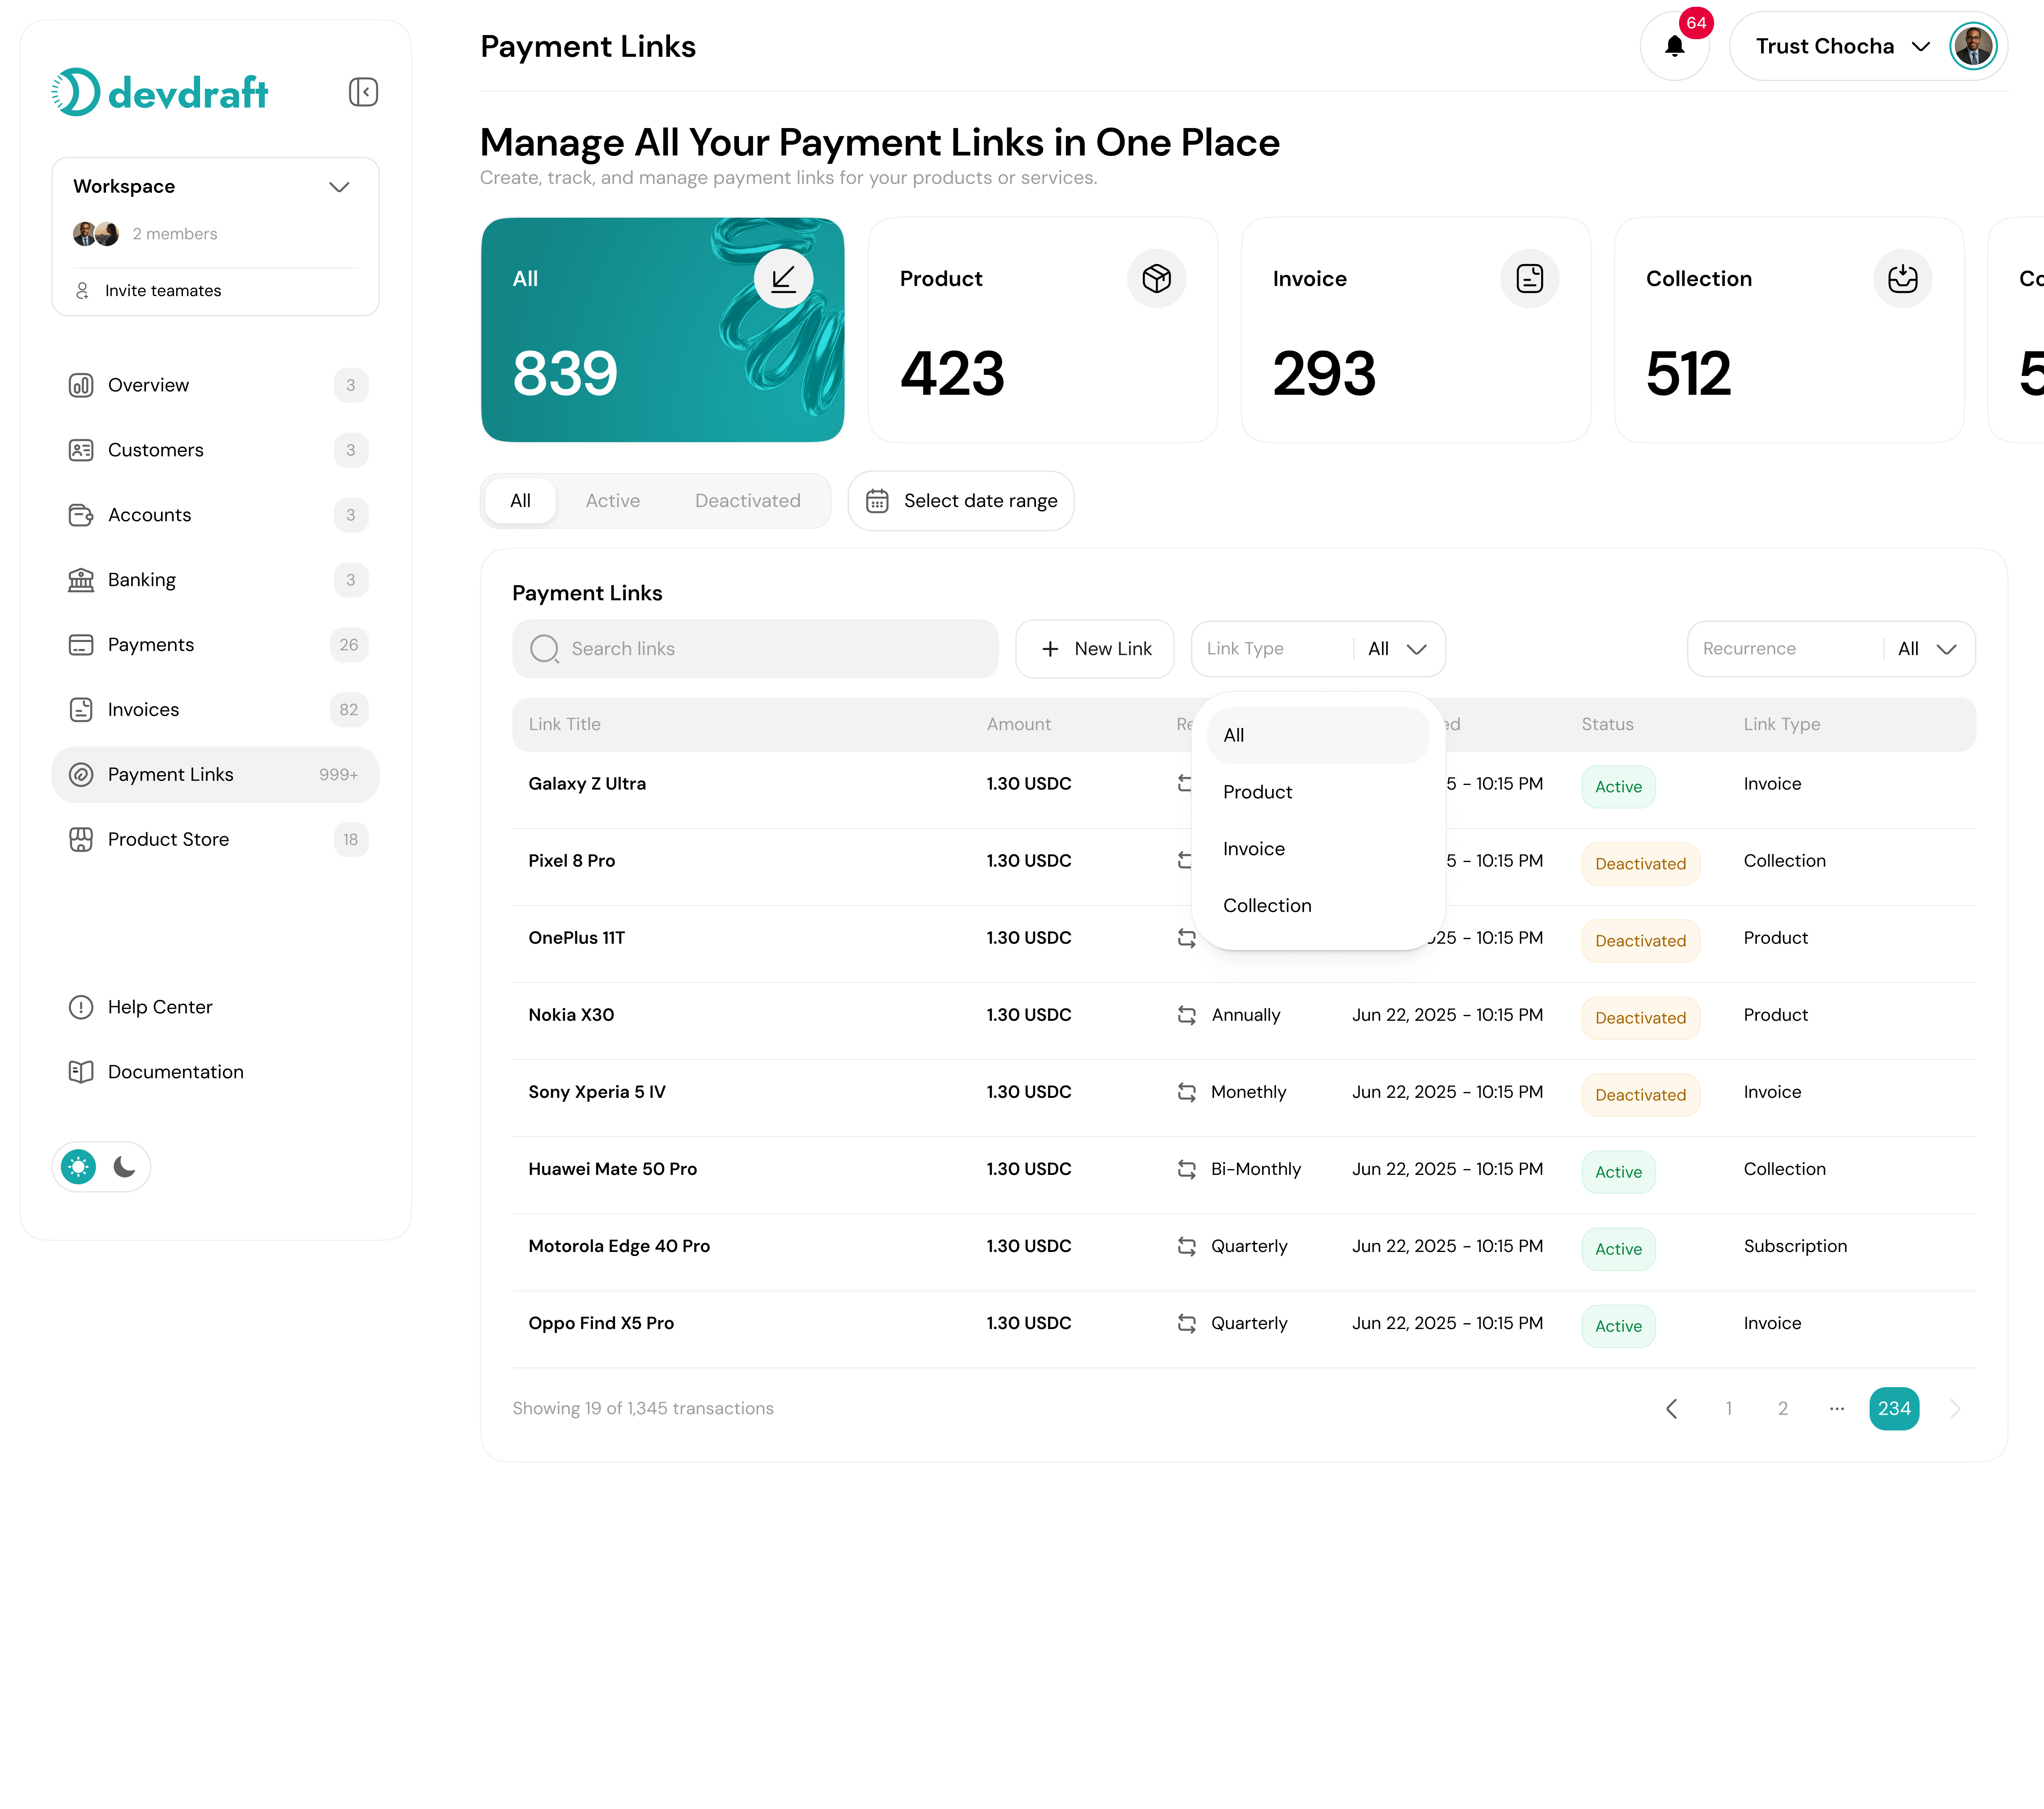
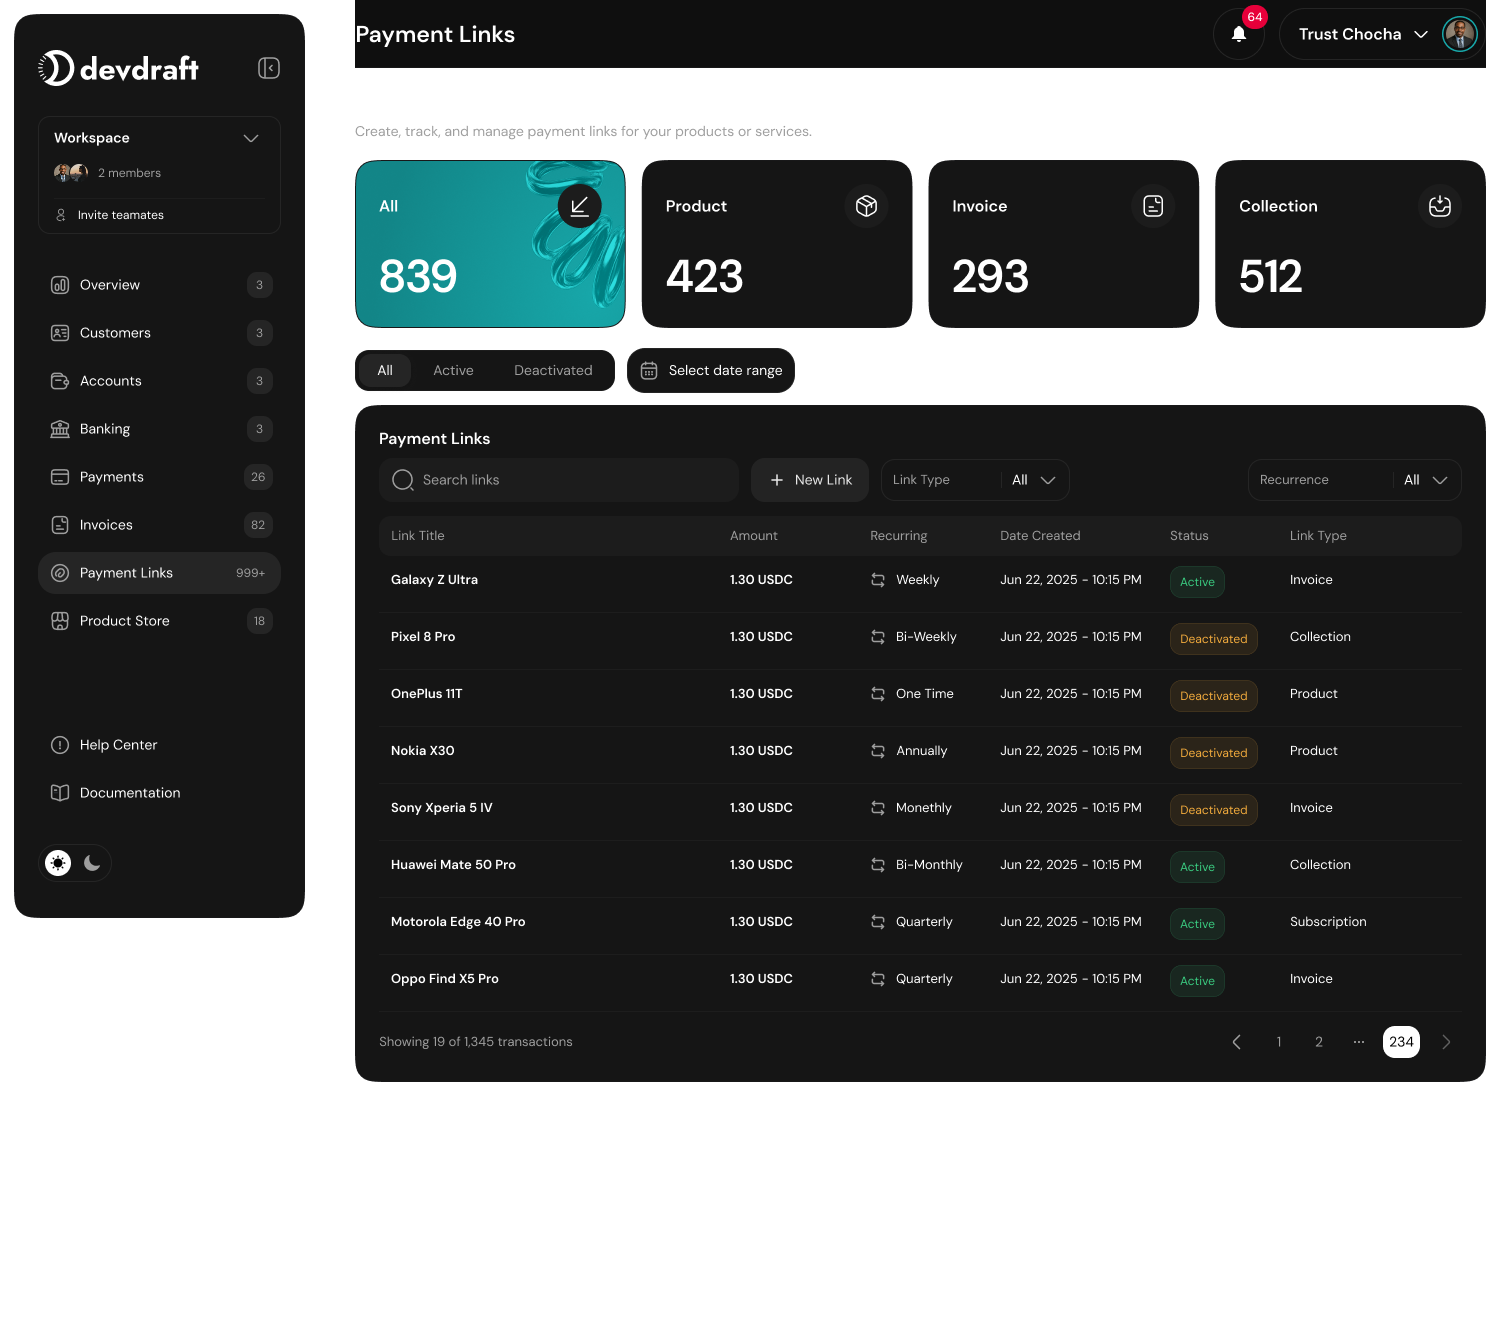
Payment Links Dashboard
What You’ll Need First
Before creating your first payment link, make sure you have:KYC Verification
Required for all payment processing features
Products Setup
For Product Payment links, you’ll need products in your store
Payment Link Types
Choose the right type for your needs:- Product Payment
- Money Collection
- Donation
For selling specific products
- Customers see professional product checkout pages
- Links to products from your store
- Use when: Selling physical or digital products
- Best for: E-commerce, digital downloads, merchandise
Creating Payment Links
1
Start Payment Link Creation
Go to Payment Links in the left sidebar and click Add Link above the product table.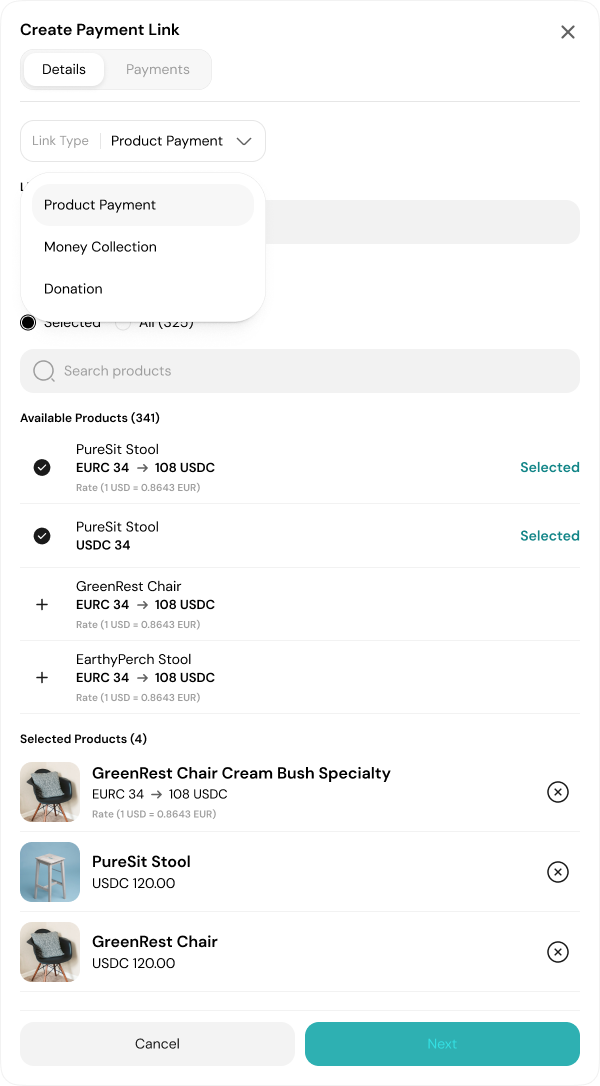
Create Payment Link Interface
You’ll see three payment link types to choose from.
2
Select Payment Link Type
Choose the appropriate type for your use case:
Product Payment
Sell specific products from your store
Money Collection
Request payments for services or custom amounts
Donation
Accept donations or tips
3
Configure Basic Settings
Name your link: Choose something descriptive like “Sneaker Collection” or “Web Design Services”
4
Set Up Payment Details
Configure the specifics based on your link type:
- Product Setup
- Amount Setup
Select products:
- Choose specific products from your store, OR
- Select “All” to let customers browse your entire inventory
5
Configure Advanced Settings
Set additional options:
- Currency: Choose which currency for payments
- Taxes: Add applicable tax rates if needed
- Usage Limits: Set maximum uses or date ranges
- Custom Settings: Add descriptions or special instructions
6
Generate and Test Link
Click Create Link to generate your shareable URL.
Test your link before sharing to ensure it works properly.
Sharing Your Payment Links
Once created, you get a shareable URL that you can use anywhere:Digital Sharing
- Copy and paste into emails
- Share on social media platforms
- Send via text message
- Include in marketing materials
Website Integration
- Add to your website
- Embed in blog posts
- Include in email signatures
- Use in digital advertisements
Your customers see a professional checkout page without you building anything.
Managing Payment Links
From the Payment Links overview, you have full control:View Performance Metrics
View Performance Metrics
- Track transaction metrics for each link
- Monitor payment activity in real-time
- See conversion rates and popular products
- Analyze customer payment patterns
Edit and Update Links
Edit and Update Links
- Modify link settings anytime
- Update product selections
- Change pricing or descriptions
- Adjust usage limits or expiration dates
Link Management Actions
Link Management Actions
- Copy links for quick sharing
- Disable links when no longer needed
- Archive old campaigns
- Export performance data
Success Tips
1
Use Clear Descriptions
- Name links descriptively for easy identification
- Include context when sharing so customers understand the payment
- Add detailed descriptions for complex products or services
2
Set Appropriate Limits
- Use usage limits for one-time or limited offers
- Set expiration dates for time-sensitive campaigns
- Monitor and adjust limits based on demand
3
Monitor and Optimize
- Track which products or services are most popular
- Analyze payment patterns to optimize pricing
- Test different link configurations for better results
Regular monitoring helps you understand customer preferences and improve your offerings.